Mold Testing
What to Expect During a Professional Mold Inspection
If you've never had a professional mold inspection, you might be wondering what actually happens. There's a lot of variation in the industry — some companies show up with a single air pump and call it an inspection. Here's what a proper Certified Indoor Environmentalist (CIE) inspection looks like, and what you should expect when HBH arrives at your home.
Step 1: Pre-inspection consultation
Before we arrive, we talk. We want to understand your concerns, your home's history, any past water events, health symptoms in the household, and what triggered the call. This conversation shapes our sampling strategy.
Step 2: Exterior and grounds review
A mold inspection starts outside. Grading, gutters, downspouts, hardscaping, vegetation, siding condition, window flashing, roof — all of these affect what's happening inside. We document conditions and identify potential moisture entry points.
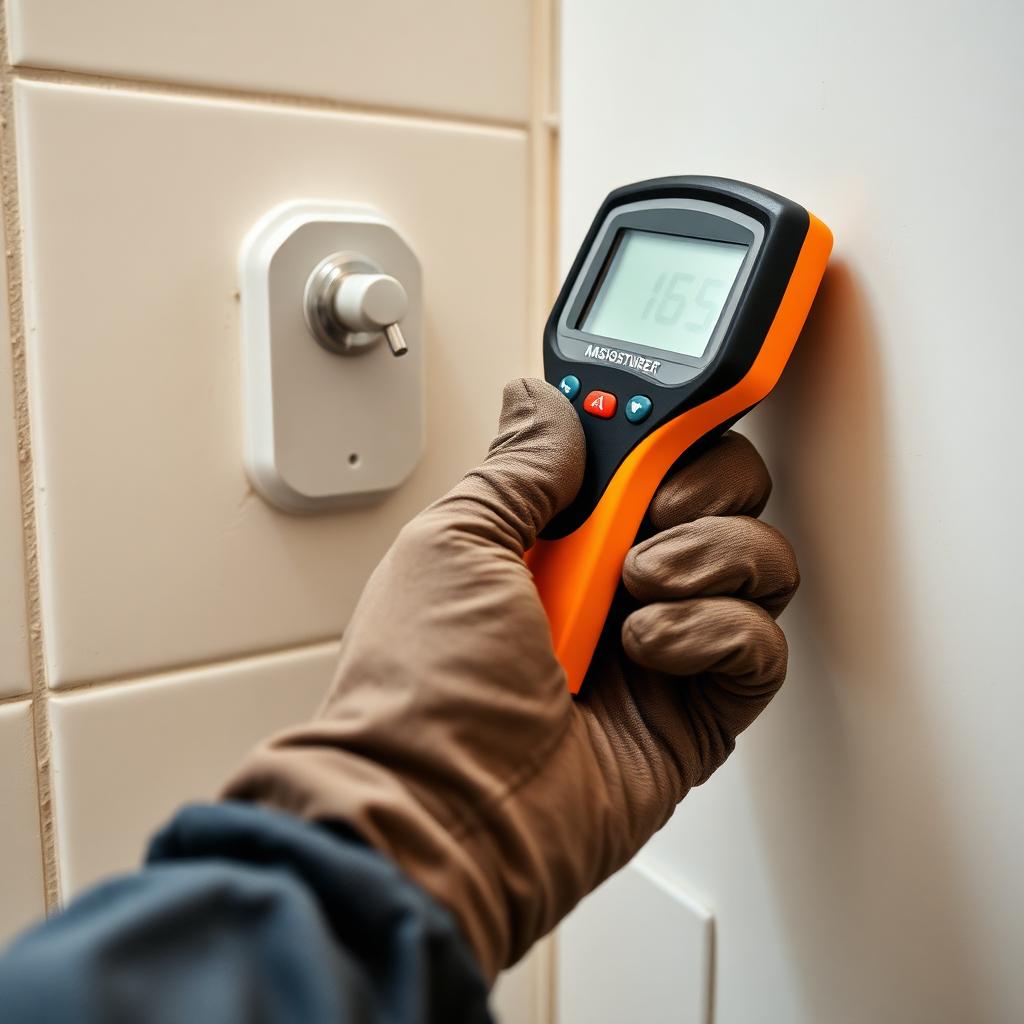
Step 3: Interior walkthrough
We move room by room, looking at ceilings, walls, floors, windows, and HVAC registers. We note odors, visible staining, recent repairs, and anything that feels off. We use moisture meters on baseboards, behind appliances, around plumbing fixtures, and along exterior walls.
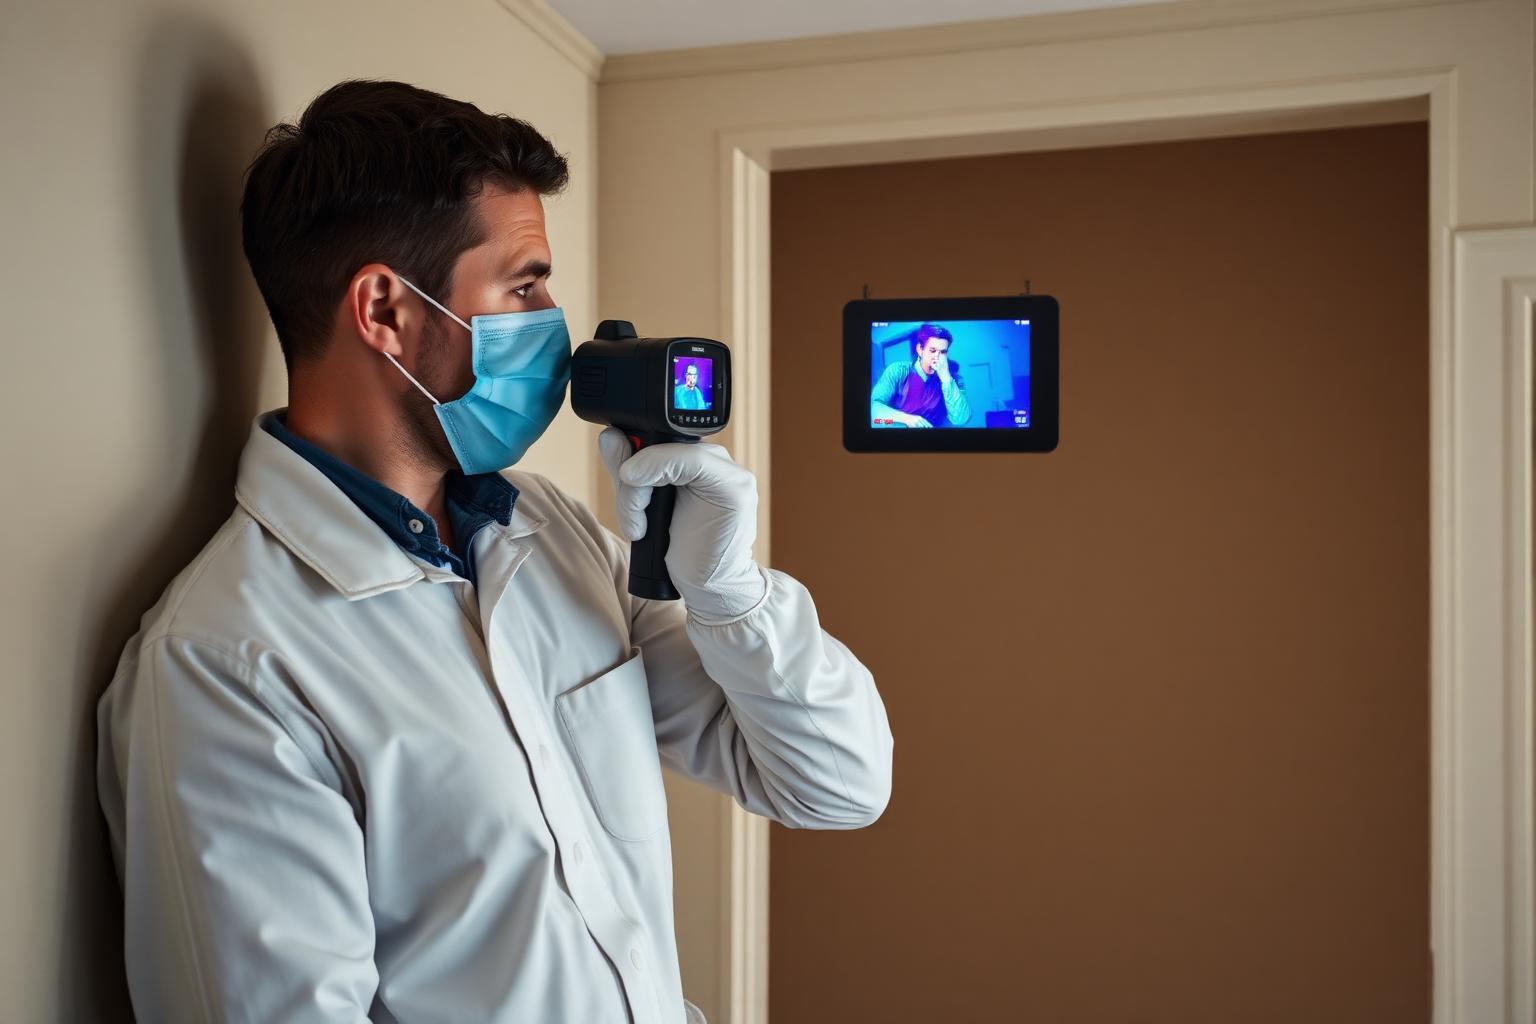
Step 4: Thermal imaging
Thermal cameras don't see mold directly — but they see temperature differentials that indicate moisture. A cool spot on an otherwise warm wall often means hidden moisture, which means a high probability of microbial growth. This is one of our most valuable diagnostic tools.
Step 5: HVAC inspection
We open up the air handler, look inside the blower compartment, inspect the drain pan, check the coil, and examine accessible ductwork. HVAC systems are mold distribution networks when contaminated — and they're often where problems originate.
Step 6: Air and surface sampling
This is where the science happens. We collect calibrated air samples from each area of concern plus an outdoor control sample. We may also take swab samples or tape lift samples from visibly questionable surfaces. Samples are sent to an accredited laboratory for analysis.
Step 7: Lab analysis
The lab identifies spore types and counts. Comparing indoor and outdoor counts, looking at species distribution, and identifying water-damage indicators (like *Stachybotrys* or *Chaetomium*) tells us what's actually happening in your air.
Step 8: Comprehensive report
You receive a written report with: - Observations and photos - Moisture readings and thermal images - Laboratory results with interpretation - A prioritized remediation plan if needed - Clear language — no industry jargon dump
Step 9: Follow-up
Questions don't stop when the inspection ends. We're available to discuss findings, talk through remediation options, and explain results to contractors, insurance adjusters, or attorneys if needed.
What we won't do
We won't pressure you into remediation services. We won't use scare tactics. We won't upsell you on unnecessary work. As an independent assessment firm with a CIE on staff, our job is to give you honest information so you can make informed decisions.
**Ready to schedule?** Call HBH at (631) 774-6502 or contact us online.
Keep Reading
Home Systems
Bathroom Mold Prevention: A Long Island Homeowner's Guide
Bathrooms are ground zero for mold in Long Island homes. Here's how to stop it before it starts — from ventilation to grout.

Seasonal
The Long Island Fall Mold Prevention Checklist
Autumn is the most important — and most overlooked — season for mold prevention on Long Island. Use this checklist before winter sets in.